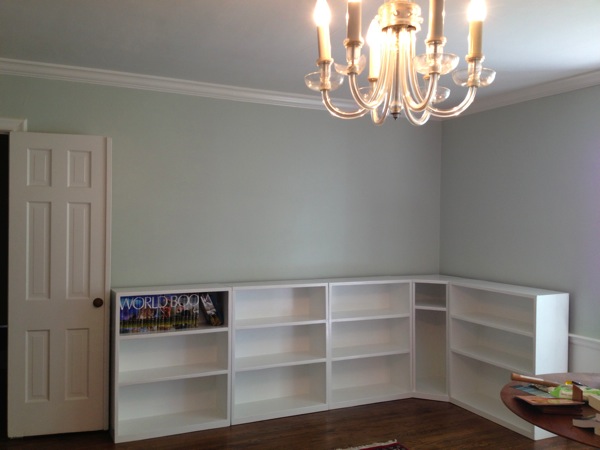
Painting the ceiling when you have white woodwork. It is not hard. Don’t let that sway you from doing it yourself or doing it at all. There are two areas I want to discuss with you.
Color And Technique
Let’s start with
COLOR
PAINT THE CEILING THE SAME WHITE AS YOU PAINTED THE CROWN MOLDING OR WHATEVER OTHER WHITE WOODWORK YOU HAVE.
After renovating 3 1939 houses and having many paint discussions with many paint experts at the stores, I cannot tell you how many times they have said this to me:
“Oh, you are going to paint your ceiling? Well, you need to paint it this ‘ceiling white’ color.” So are you telling me that everyone has the same color of white ceiling? Is there something special about this particular white? Does it do some magic reflection thing? Design doesn’t extend to the ceiling?
I never could quite get an answer on this. I still don’t understand what the purpose of that “white” was. And I did try it in the beginning and it look horrible next to my “other white” that I spent hours, days and weeks painstakingly picking out. Finally, I thought, I don’t care what they say, I don’t like it. Well, guess what. The ceiling didn’t cave in and it looks great.
So on my first house, the woodwork was Valspar Historic Colors: Champagne (looks white) in an oil, semi-gloss. And the ceiling was the same exact color EXCEPT it is latex, (water-based – not oil) flat. This is the only time I like flat paint. On the ceiling. As you move toward satin and gloss it get’s a little more reflective and you don’t want your eye drawn to the ceiling. So, I like flat. On most walls I like latex satin. If it’s in the kitchen or bathroom, I like latex semi-gloss. Easy to clean.
The other reason it is good to do the same color on ceiling and woodwork is if you don’t paint the ceiling perfect and a little gets on the the woodwork – YOU CAN’T SEE IT! Even though it is a different finish, you just won’t notice it.
TECHNIQUE
As far as technique, you just need a roller handle, a roller paint head, a broom handle, (screw off the broom head and that end will screw into the roller handle) a brush for latex, (they have different ones for oil – I like about a 2″ brush) a tray for the paint, (I like the disposable ones – you’ve already got a mess on your hands – just throwing the tray out when you’re done is worth it in my book) a small plastic container for paint for doing the edges with your brush on a ladder, a ladder, drop cloths, a few wet cloths to wipe up small splatters.
Lay out your drop cloths. You don’t need to cover the entire floor. Just the part your painting, then move it over to the next area. They say to paint the edges of the ceiling first, next to your woodwork, and then roll the middle part trying to get as close to your edges as possible. That is because the texture of the rolled part will look different than the texture of the brushed part. Well, guys, we are talking ceilings here. No One Is Going To Notice! I say, just do whatever part you feel like doing first. Sometimes I’m in the mood to roll and sometimes I’m in the mood to brush. These are important facts to consider since this is probably a do-it-yourself project.
My last word of advice is after you are done, before you put your tools away, take a good look at the ceiling in good light if possible. After I painted our living room ceiling, I was so ready to be done that I didn’t check. Months later I looked up and saw a patch of about 2 feet by 3 feet that I missed. Ugh. Finally months later, I had the paint out and got it, but that was irritating to say the least.

Comments